It turns out that her mother wants a table for the kids to sit at when we have a meal at their house. She now has 14 grandchildren, and she wanted to be able to seat them all. She envisioned it being for her birthday, but wanted to get started on it. She had a picture of a table that she liked. It was an older shaker/farm table.
 First step, I took some measurements and drew up some plans. I knew she wanted to be "cost effective", so I thought we could make it out of Douglas Fir. I priced this table out right around $100. The table is big at eight feet long, and just under four feet wide. To put this into perspective, many tables you see in stores are around four to five feet long, and 30 inches wide.
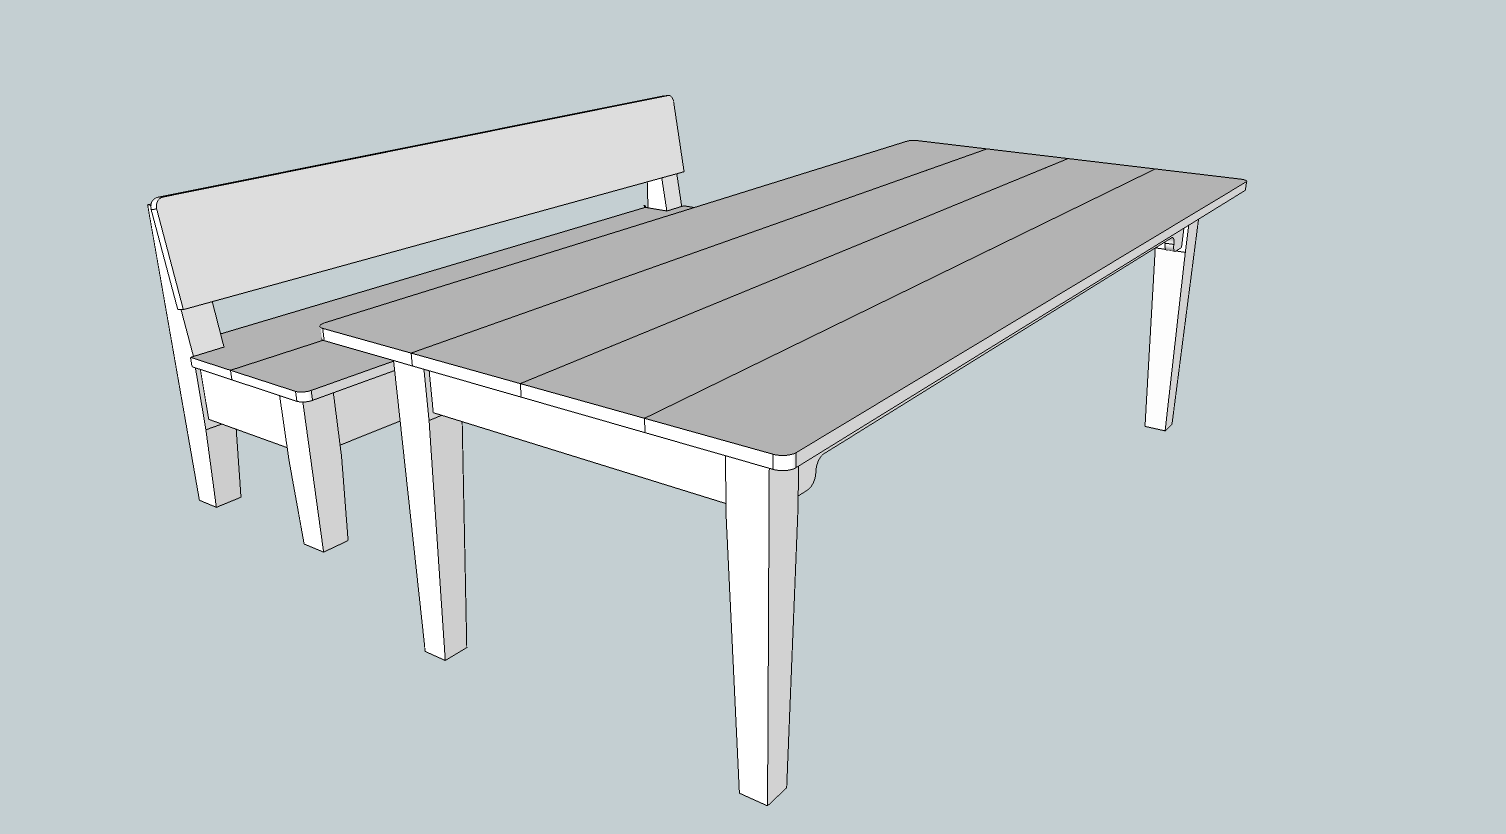
 The mother-in-law liked it, but I think the father-in-law was more concerned with how he could store this massive table when it was not in use. He liked the idea of built-in seating, so I drew up a new plan that would be the same size, but a trestle table. The trestle table has legs in the middle, instead of at the edges. Since we are building in bench seating, the legs will be able to slide under the bench, and we can tuck the table into the corner. This table should be a little cheaper to build, but I like it as it has an Arts & Crafts feel to it, not that I don't like Shaker. I don't have the final drawing of this, but here is an early version. The final version has a split upright leg. The legs are very "chunky" at three inches square. This is going to be a heavy table.
 Monday, my father-in-law wanted to do something fun, so we started working on the table. He kept asking me what he should be doing as I worked on the table. I would do the layout, and he would make the cuts for me. That's nice, not to mention the amount of sawdust I made, and it wasn't in my shop!

This photo is the accumulated sawdust from thickness planing the top. We took it down about a quarter inch. We started with 6/4 stock, and now have a 5/4 top. With the beefy legs, the thick top should look good. Plus, since this is a table for kids, they probably wont be able to move it too much.
My wife took some photos, I'll get them and upload them later. My father-in-law was surprised that I was using Mortise and Tenon joinery as he had never made this joint before. I figured if you are going for an Arts & Crafts look you should use the right joints. I am going to take some short cuts and use my pocket hole jig for the top glue up.
We got quite a bit done on Monday. We put the two leg assemblies together. I still have to cut four more mortises for the cross member on the bottom. Then I have to make the matching tenons on the cross brace. The good news is that I thickness planed the cross brace to the size of the mortises, so I just have to use a jig-saw to complete the tenon. These are through tenons, so you will be able to see the end-grain of the cross brace. I'm still debating if I will put a "knock-down" peg through the end, but as I like the look it will probably happen.
After that it is just gluing up the top, and attaching the two. I see a lot of sanding in my future, and they still haven't decided how they want the finish to look.
After seeing this table, my wife has told me I will be building another one in the near future.
No comments:
Post a Comment